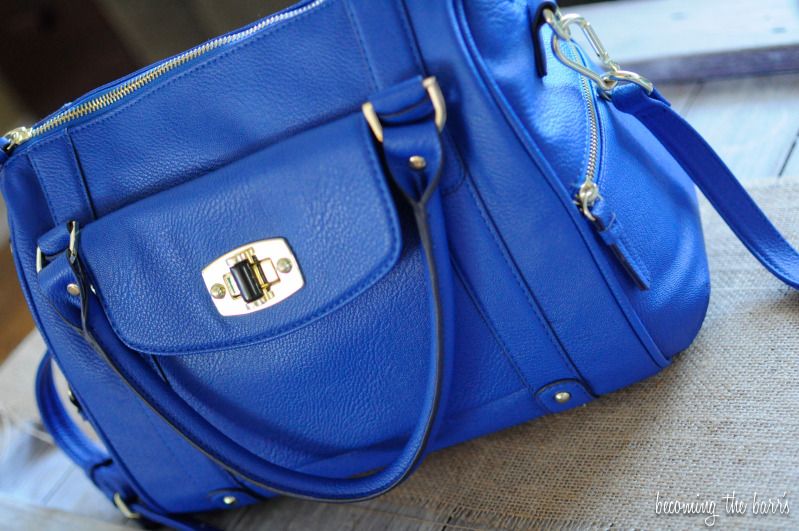
If you're into photography and you're anything like me, chances are you either a) own one of those beauty camera bags by Epiphanie, Kelly Moore, Cheeky Lime, etc. or b) long to own one of those beauties but can't afford it!
I fall into the latter 'b' category.
With those beautiful, brightly colored camera bags ranging anywhere from $160 - $250, they are simply a far off dream for me. One day, maybe! But for now, I've resorted to making my own -- for a whopping $6 if you use a purse you already own!
Here's how! (and I do apologize for crappy photos taken at night! that's my time to craft away!)
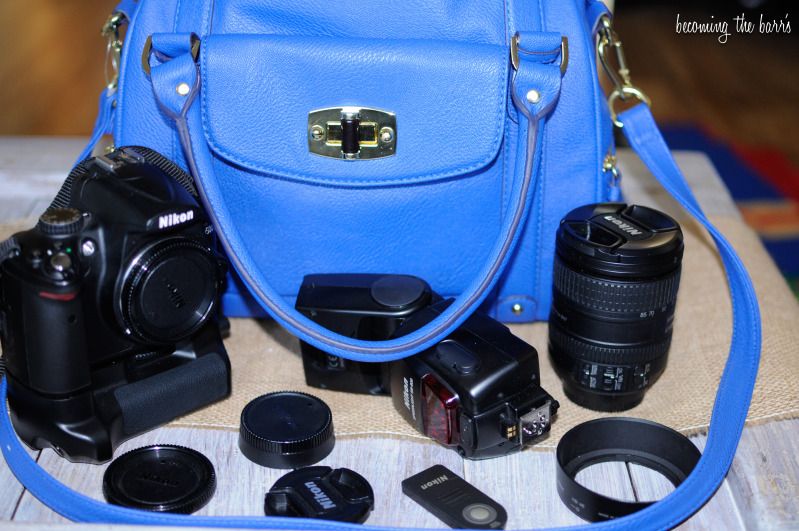
FYI, I suggest using a purse with several pockets for all those camera accessories!
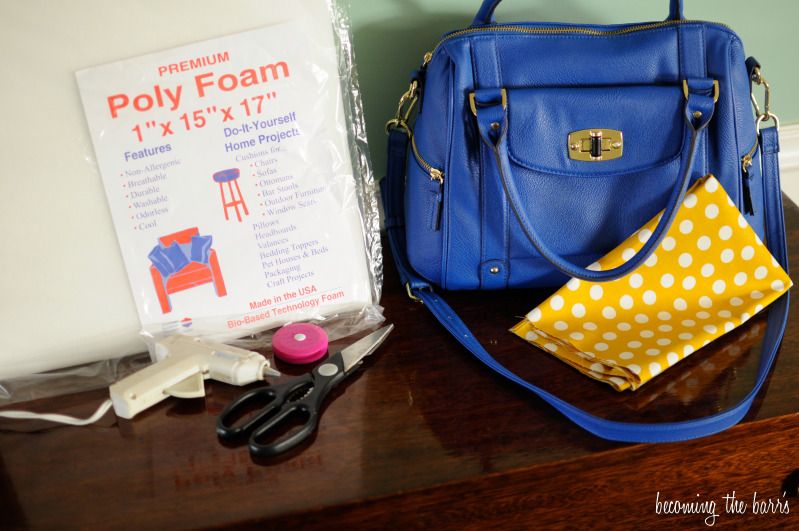
Supplies you'll need:
-Purse
-1/2 yard fabric (~$2.50)
-Foam square (craft stores have this ~$3.50)
-Scissors
-Measuring tape
-Hot glue gun
Yes, my original plan was to use the sewing machine. But, I like to do things the easiest way possible, so when the hot glue gun popped into my head, I figured I'd go that route instead!
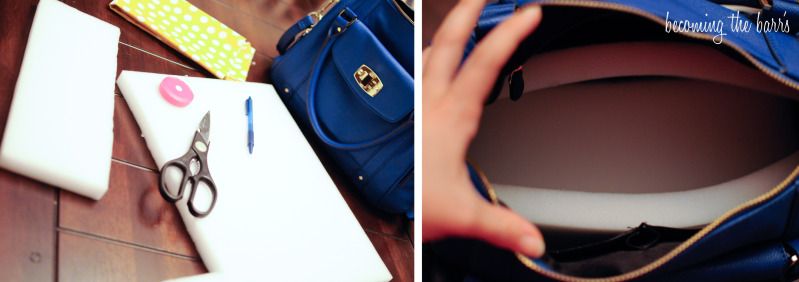
First, measure the bottom of the bag. Then cut a rectangle of foam in the appropriate length x width to cover the bottom. Do make sure it fits inside the bag :)
Using that same length, cut rectangles for the 2 long sides. You decide how tall you want them.
Lay the 3 foam rectangles on top of the fabric, leaving just enough space in between so that you can fold the sides up. Fold the fabric over top. Then, fold up one foam side and hot glue in place. Do the same for the other side. (I realized after this step that it may just be easier to wrap each piece of foam like a present, gluing the sides in place where you normally tape a present shut.)
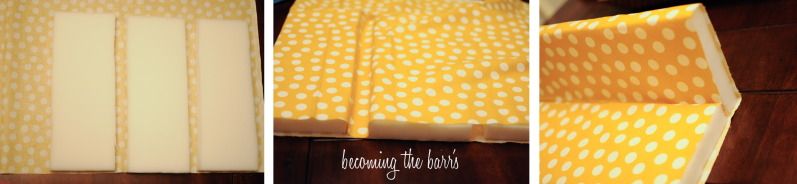
Measure for what size foam you will need for the 2 short sides and cut the foam accordingly. Here's where I used the 'present wrapping' technique for the 2 short sides. Then hot glued them in place.

Use the same measurements from the short sides to make as many inserts as you would like. (You can make them taller or shorter than the sides, however you want them!) You can glue the inserts in place as you'd like, or use Velcro strips for flexibility.
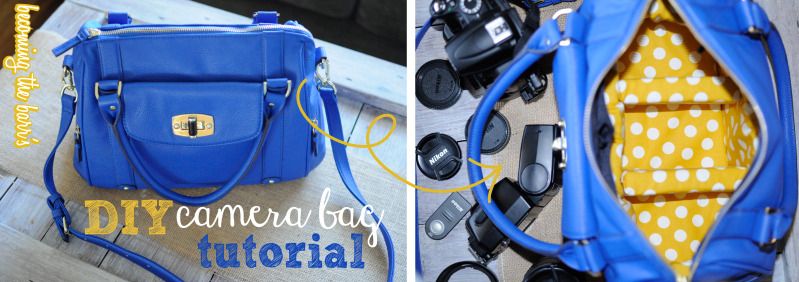
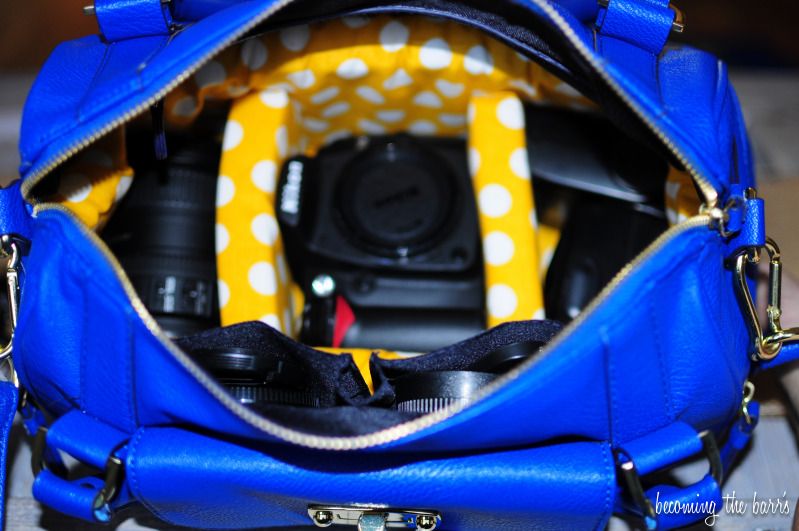
Here's how it'll look!
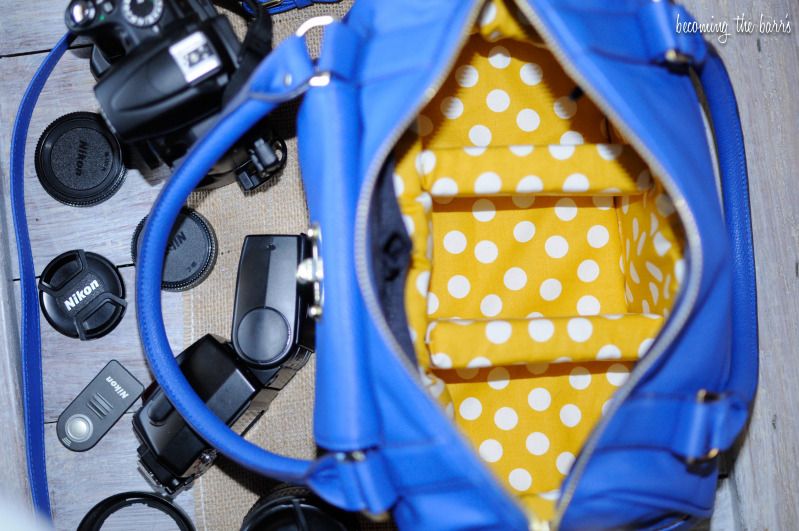
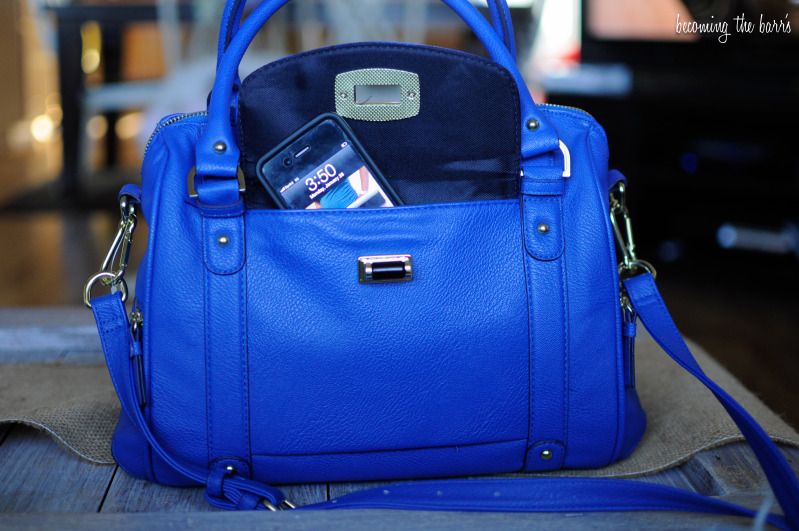
What I like most about this style of camera bag is that you can use it as a purse as well by slipping your wallet in between the purse wall and the cushion wall. Dual-purpose! -- a purse and stylish camera bag in one..heck yeaaa!
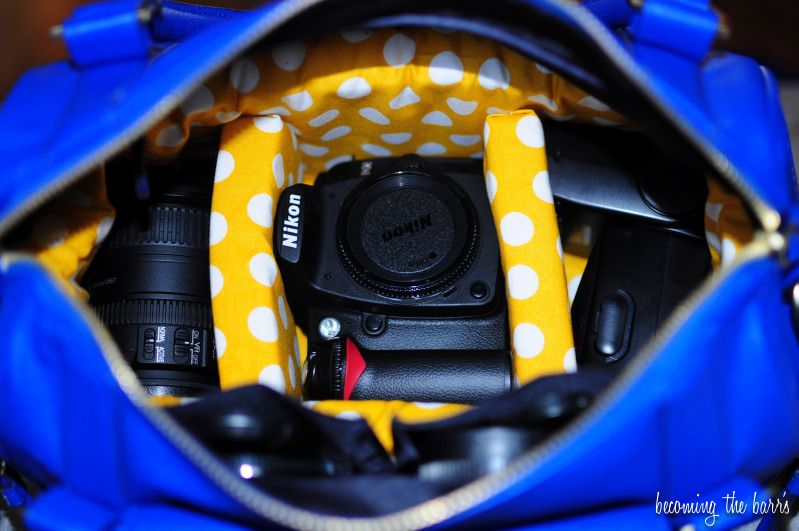
side-note: I do normally keep a lens on the body in here as well, just so you know it fits! I just needed to use it to take this photo :)
And room to stick your phone in one of the pockets.
Interior pockets for lens caps, remote, etc.
And there you have it: your very own, very CHEAP, stylish camera bag!