RAISING THE LITTLE BARR'S

tutorial

Beer Cake Tutorial {Father's Day Gift Idea}

Charlene2 Comments
We have made it to Florida! And had a trip to Ocean City, NJ in between moving here and now. So between unpacking, seeing family, and mucho more, I have been one busy ass bee! Father's Day is this Sunday, and it is my husband's first Father's Day, so it's a special one ;)

So special, that I decided he deserves a beer cake! haha...don't worry, Baby E got him something a little sentimental too!

BARR002

My hubby is into craft beers (and I looove that he is, because I benefit from that too!) so I went to Whole Foods and grabbed a couple different unique beers to make this.

beer cake gift; unique gifts for him; beer drinker gift ideas

What you'll need:
  • Beer
  • Cardboard Rounds 
  • Ribbon
  • Embellishments of your choice (optional)

fathers day gift idea beer cake ideas

I used a dinner plate and a salad plate to trace circles on the cardboard then cut out. You can buy cardboard rounds at the craft store if it's easier! You can also decorate the rounds with paper, but as I said, I'm way too busy lately and went the easy route!

Place the bigger cardboard round on the bottom.

I used 12 cans on the bottom tier. Just place them in a circle and a few in the middle.

Then place the smaller cardboard round on top of the cans.

I used a 6 pack of bottles for the middle tier, and in the middle of the bottle circle, there is 1 canned beer.

For the top, I just stacked one beer on top of the can to raise it.

Wrap with ribbon, and embellish however you'd like!

beer gift ideas

You can embellish with candy bars, scratch-off tickets, photos, anything your little heart desires!

Set up it for Daddy to see and let him enjoy! :)

beer cake tutorial; unique fathers day gift ideas


~~~~

A Florida post is coming soon -- this gal has been a busy bee. But for this special Father's Day weekend, we are headed to the beach to relax and celebrate fatherhood!


fathers day quotes

Ombre Glitter Easter Eggs

Charlene7 Comments
Seriously...prepare for some ombre/glitter overload in this post. Every time I open my fridge, it looks like an ombre glitter monster took ova. But it makes me smile!

glitter ombre easter egg ideas

glittery easter eggs ombre

These babies were easy peasy. And just what I had in mind for baby girl's first Easter. Cause you know, she cares about what they look like and all...

BARR051

She told me so.

teal green yellow easter eggs glitter

I just bought a cheap ol' regular Paas dying kit with the cups and only used the blue, green, and yellow tablets.  We'd dip small portions of the egg in at a time and leave them in for varying time periods. To adjust the hues of blues and greens, we added in drops here and there of food coloring to the cups. Dip away, dip as you please!

BARR050

Eat some Easter candy in between.
 
creative easter eggs glitter ombre

For the gold, well that's top secret.

ombre easter eggs with glitter

No, just kidding!

When the eggs dried (and the husband left the table), I put a few strips of double sided tape on half the eggs. I then rolled them in extra fine gold glitter. Super secretive, huh?

unique easter egg dye

decorative easter egg ideas

Admire them when finished (check!), make sure baby likes them (check!), and wait for Mr. Easter Bunny (waiting...)

BARR052

easter egg ideas ombre glitter

Happy egg decorating to you and yours!

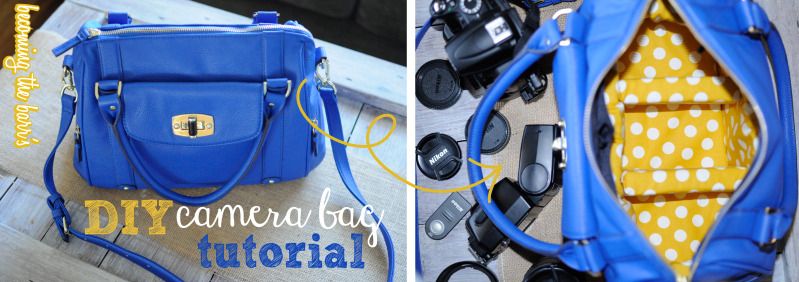
How To Make a DIY Camera Bag {a tutorial}

Charlene8 Comments
how to make a diy camera bag tutorial; epiphanie inspired camera bag; cheeky lime inspired camera bag

If you're into photography and you're anything like me, chances are you either a) own one of those beauty camera bags by Epiphanie, Kelly Moore, Cheeky Lime, etc. or b) long to own one of those beauties but can't afford it!

I fall into the latter 'b' category.

With those beautiful, brightly colored camera bags ranging anywhere from $160 - $250, they are simply a far off dream for me. One day, maybe! But for now, I've resorted to making my own -- for a whopping $6 if you use a purse you already own!

Here's how! (and I do apologize for crappy photos taken at night! that's my time to craft away!)


make your own slr camera bag
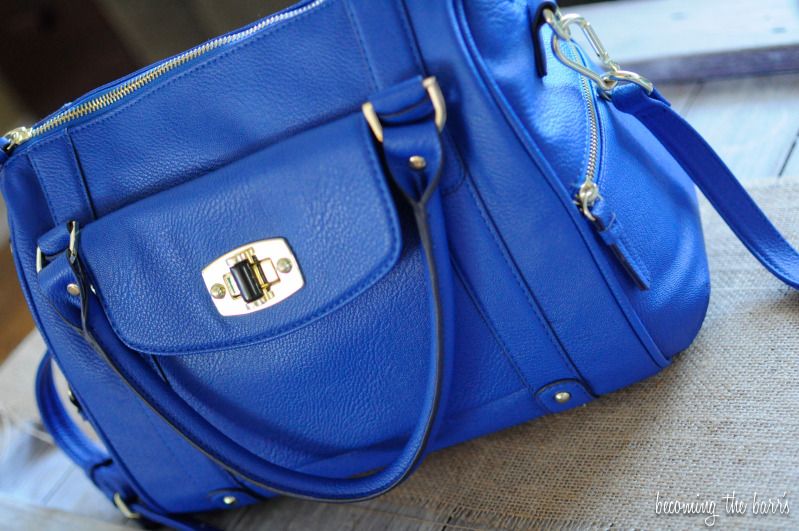
FYI, I suggest using a purse with several pockets for all those camera accessories!

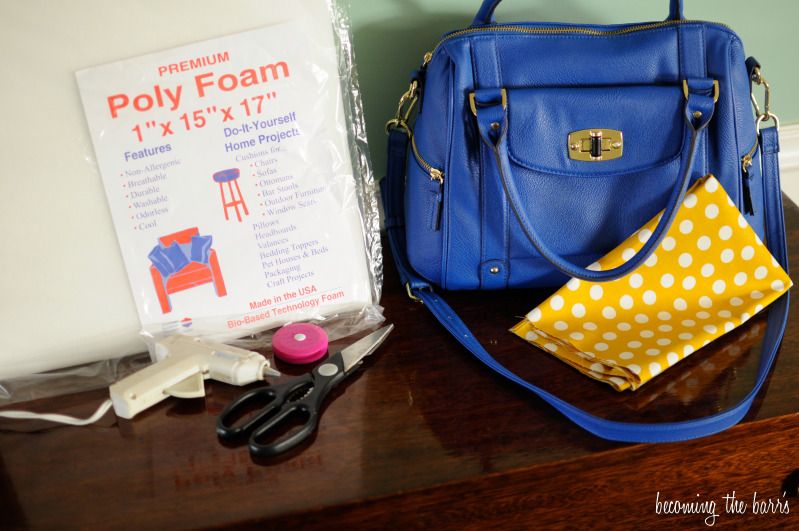
Supplies you'll need:
-Purse
-1/2 yard fabric (~$2.50)
-Foam square (craft stores have this ~$3.50)
-Scissors
-Measuring tape
-Hot glue gun


Yes, my original plan was to use the sewing machine. But, I like to do things the easiest way possible, so when the hot glue gun popped into my head, I figured I'd go that route instead!

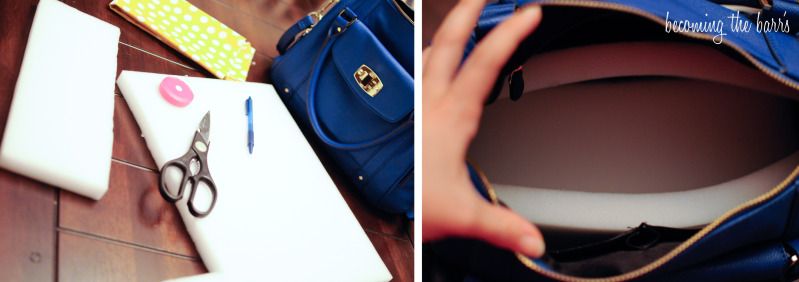
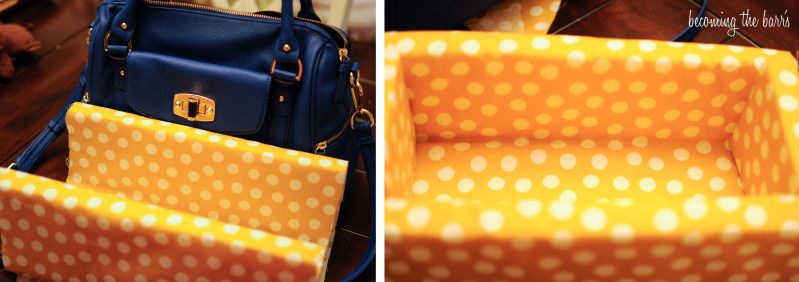
First, measure the bottom of the bag. Then cut a rectangle of foam in the appropriate length x width to cover the bottom. Do make sure it fits inside the bag :)

DIY SLR camera bag inserts

Using that same length, cut rectangles for the 2 long sides. You decide how tall you want them.

Lay the 3 foam rectangles on top of the fabric, leaving just enough space in between so that you can fold the sides up.  Fold the fabric over top. Then, fold up one foam side and hot glue in place. Do the same for the other side. (I realized after this step that it may just be easier to wrap each piece of foam like a present, gluing the sides in place where you normally tape a present shut.)


Measure for what size foam you will need for the 2 short sides and cut the foam accordingly. Here's where I used the 'present wrapping' technique for the 2 short sides. Then hot glued them in place.


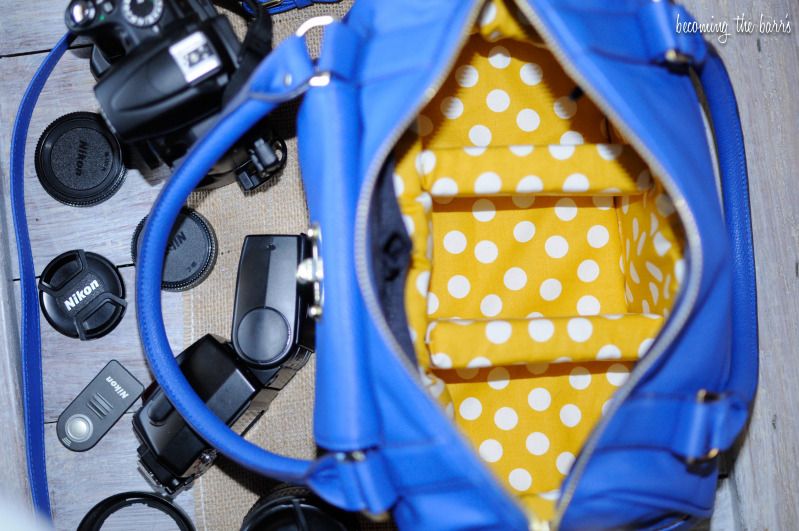
Use the same measurements from the short sides to make as many inserts as you would like. (You can make them taller or shorter than the sides, however you want them!) You can glue the inserts in place as you'd like, or use Velcro strips for flexibility.

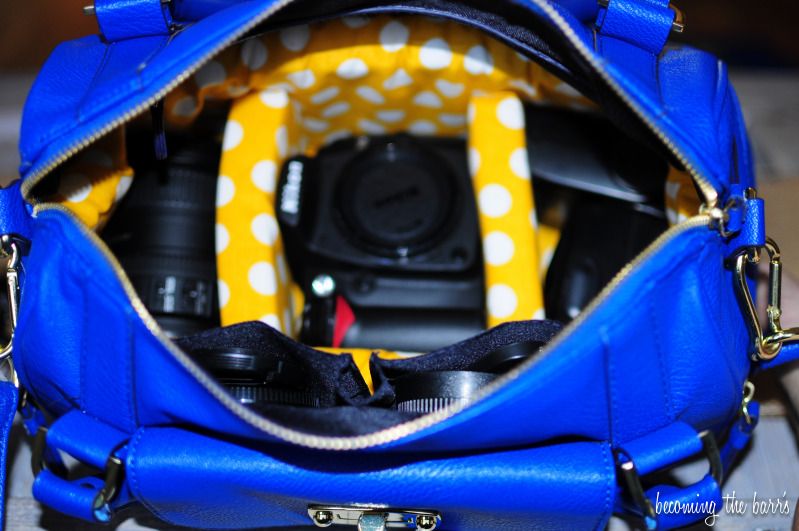
Here's how it'll look!

DIY epiphanie or cheeky lime inspired camera bag tutorial

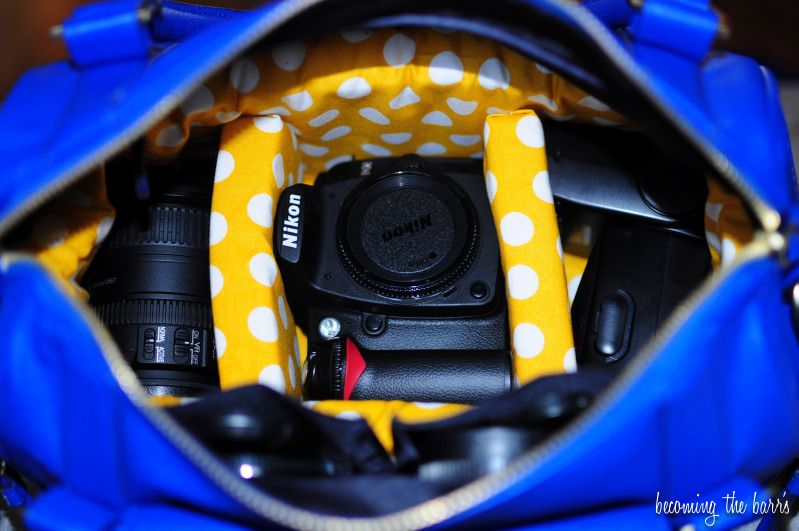
What I like most about this style of camera bag is that you can use it as a purse as well by slipping your wallet in between the purse wall and the cushion wall. Dual-purpose! -- a purse and stylish camera bag in one..heck yeaaa!


side-note: I do normally keep a lens on the body in here as well, just so you know it fits! I just needed to use it to take this photo :)

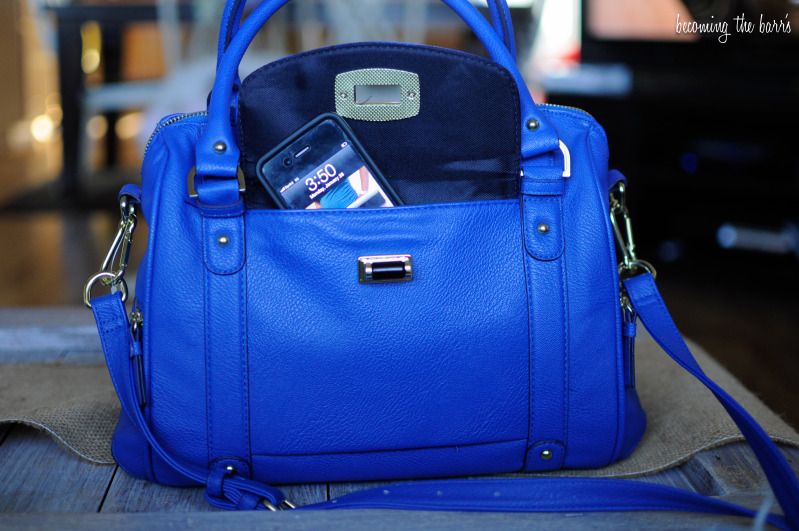
And room to stick your phone in one of the pockets.


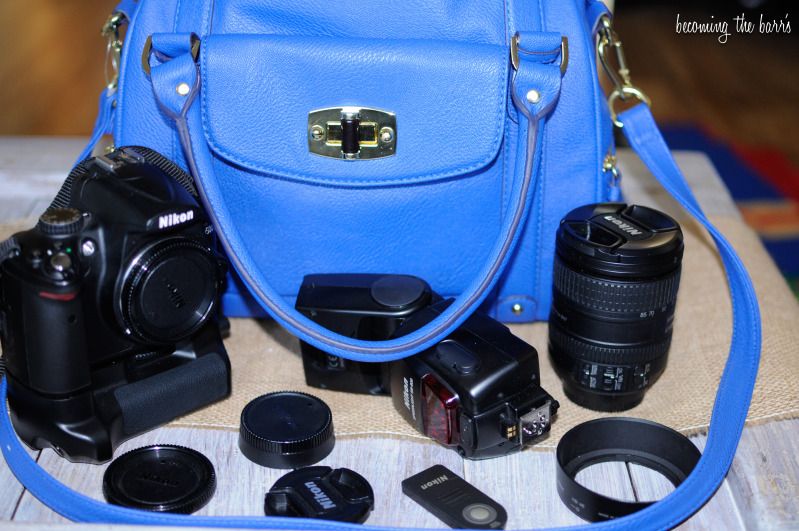
Interior pockets for lens caps, remote, etc.


And there you have it: your very own, very CHEAP, stylish camera bag!

make your own epiphanie inspired camera bag

spring forward with a spring mantel

Charlene31 Comments
diy spring mantel


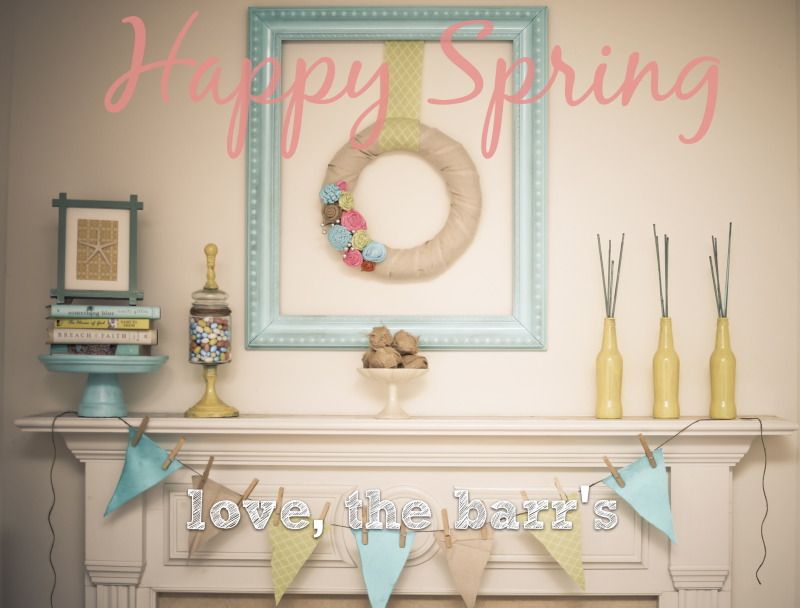
It may not 'officially' be spring yet...but we sprung forward last night so that counts for me! While some complained about springing forward, I have been waiting for this day for a little while now. I don't look at it like I lost an hour of sleep, because well, I don't have kids to wake me up and I don't work on Sundays - so, I just slept an hour longer! Not to rub it in for some of you ;) But seriously, I LOVE when it stays lighter later. No more coming home from work, rushing to make dinner, and feeling like it's almost bed time already. Now, I'll leave work while the sun is still shining and have time to make dinner and still take the pup to the park after to enjoy a walk with my little family. Oh, how I've been looking forward to this!

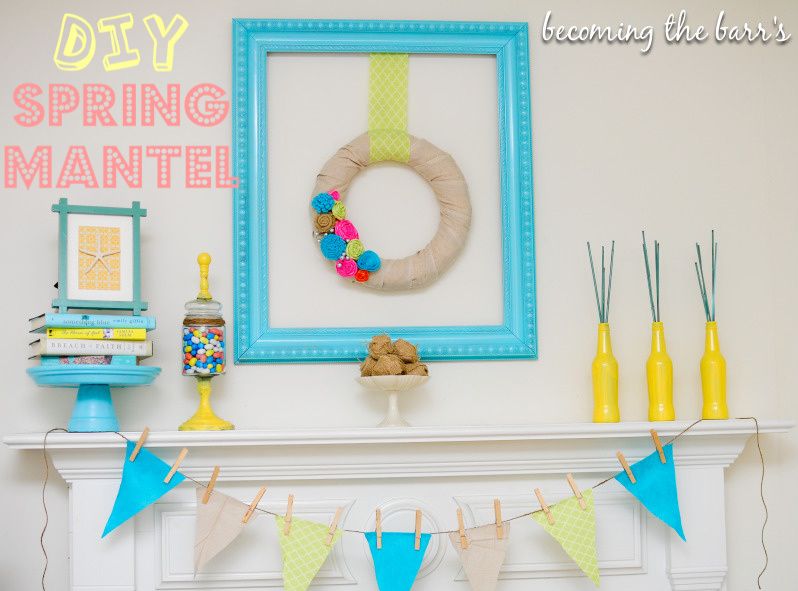
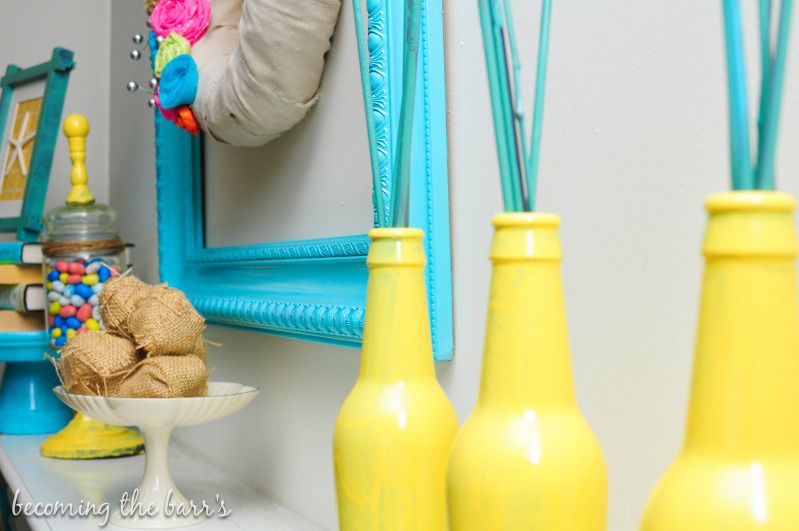
While J spent the weekend studying, I spent the weekend crafting. The neighbors might possibly dislike me after the smell and fumes of spray paint lurked in the backyard area all weekend. I went through a few bottles... but the outcome was worth it to me :) A 100% DIY mantel..it kills time for me and then I get to enjoy the beauty of it all afterwards.

diy spring mantel
diy beer bottle vases spring mantel
diy easter wreath

Just about everything was handmade using items I already had laying around in the garage. It's amazing what a little paint and fabric can do!

easy cheap easter decor
easy spring easter wreath

Now for the important stuff:

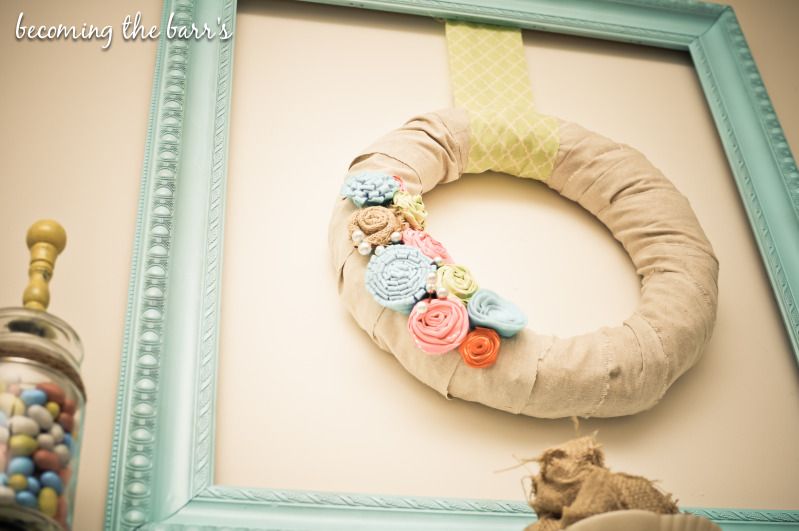
The empty big frame above the mantel was an ugly ol' picture I found while helping my brother move. I *kindly* talked him into giving it to me ;) I removed the backing, took everything out of it, and pulled out the staples holding the picture in place. Then, just spray painted.
diy empty frame above mantel

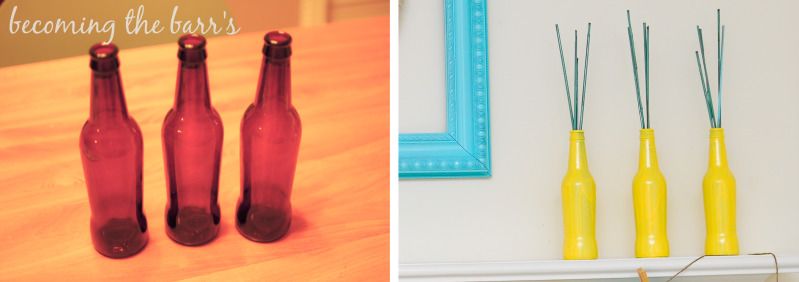
To make the yellow bottles: drink some beer, clean out the bottles, and spray paint! I also spray painted the sticks to put in them.
diy beer bottle glass vases spray painted

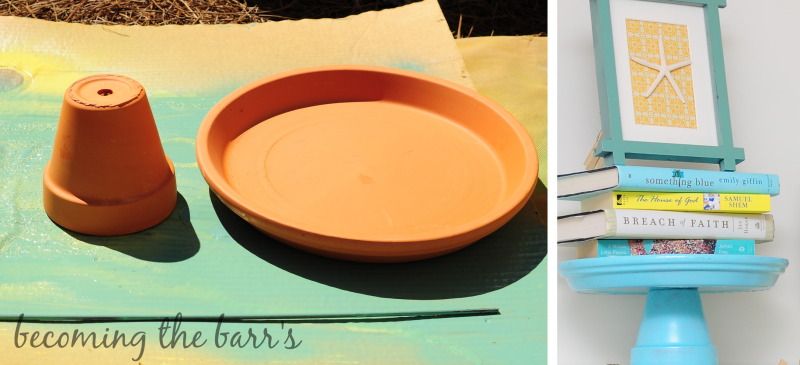
To make the 'cake pedestal,' I purchased a small Terracotta planter and plant base, spray painted them, and attached using e6000 glue. (Place the Terracotta planter upside-down) This was a total of $4.
diy cheap cake pedestal stand

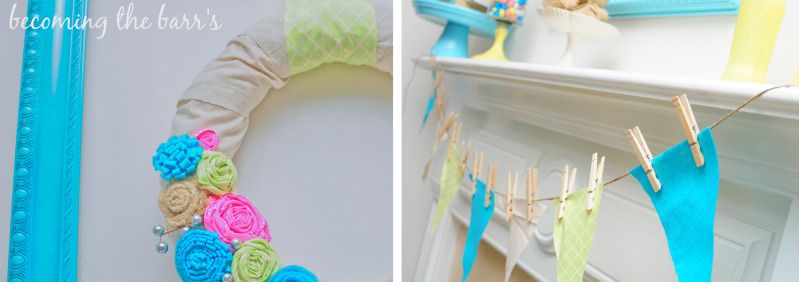
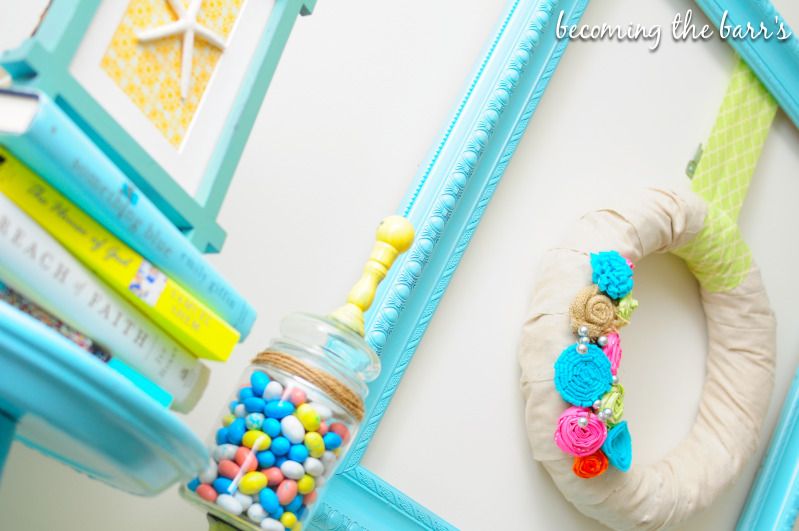
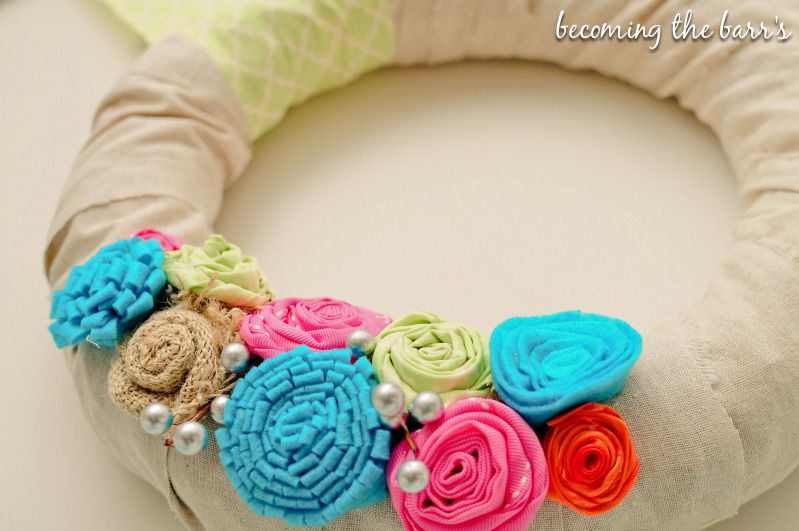
For the Easter/spring wreath, follow the same directions from the Christmas Wreath Tutorial. Only, instead of yarn, I wrapped the wreath with fabric. I made the same flower types as in that tutorial and hung from the frame with a strip of fabric.
diy easter/spring wreath tutorial

The spring banner was made using fabric and felt cut into triangles and clothes-pinned onto jute twine.

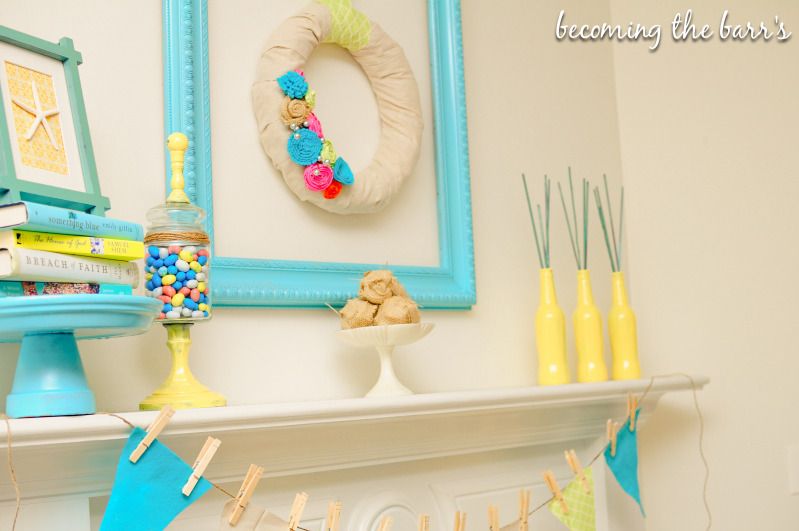
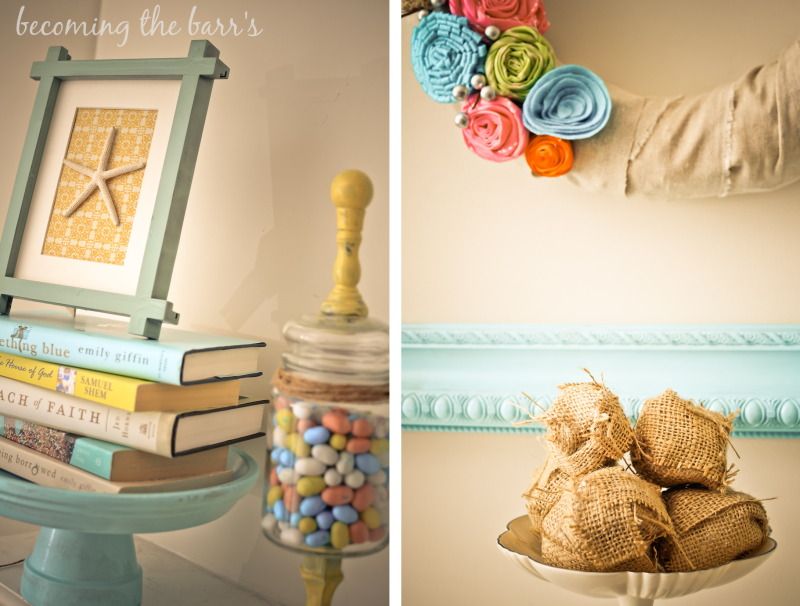
If you're interested in making burlap balls, I simply crushed up a piece of computer paper, and wrapped 1 1/2" wide strips of burlap around them using hot glue until it was covered.

The apothecary jar was made back in October (follow this tutorial) and I just lightly painted yellow over the black. Looks messy but I'm okay with it! It's filled with mini Robin eggs.

For the frame with the starfish, I spray painted an old frame we had (Hospice Thrift Store special courtesy of Grandma), put a piece of scrapbook paper in it and hot glued one of the starfish from our wedding on it.
spring mantel decor

Spray paint colors used: Krylon Blue Ocean Breeze, Krylon Bright Idea, and Krylon Satin Jade.

The total I spent this weekend at Hobby Lobby was a whopping $17 for all of this (excluding items I already had).

Clearly, we are readyyy for spring around here and I will be lovin' these bright evenings :) The windows are open, and we are making our way out more and more. Make room for spring, everyone!

Happy Spring mantel decor spring ideas