This blog was started for family and friends to keep up to date on our lives after moving to Atlanta from Florida for my husband's medical school journey. Chronicling our wedding plans and life leading up to the wedding, I've loved keeping family and friends informed of everything in between. Now that we are married, I know that actually 'becoming the Barr's' will be a lifelong journey as we merge our lives and values together to create traditions of our own along the way.
I've learned so much about the blogging world since I began, and I've learned how many people out there bleed creativity in all they do. I've been inspired in my own life to CREATE more than I ever have. Crafts, baked goods, photography, meals, etc. - I've found such joy in the blogging world that really inspires my everyday life. Look forward to an Etsy shop coming soon :)
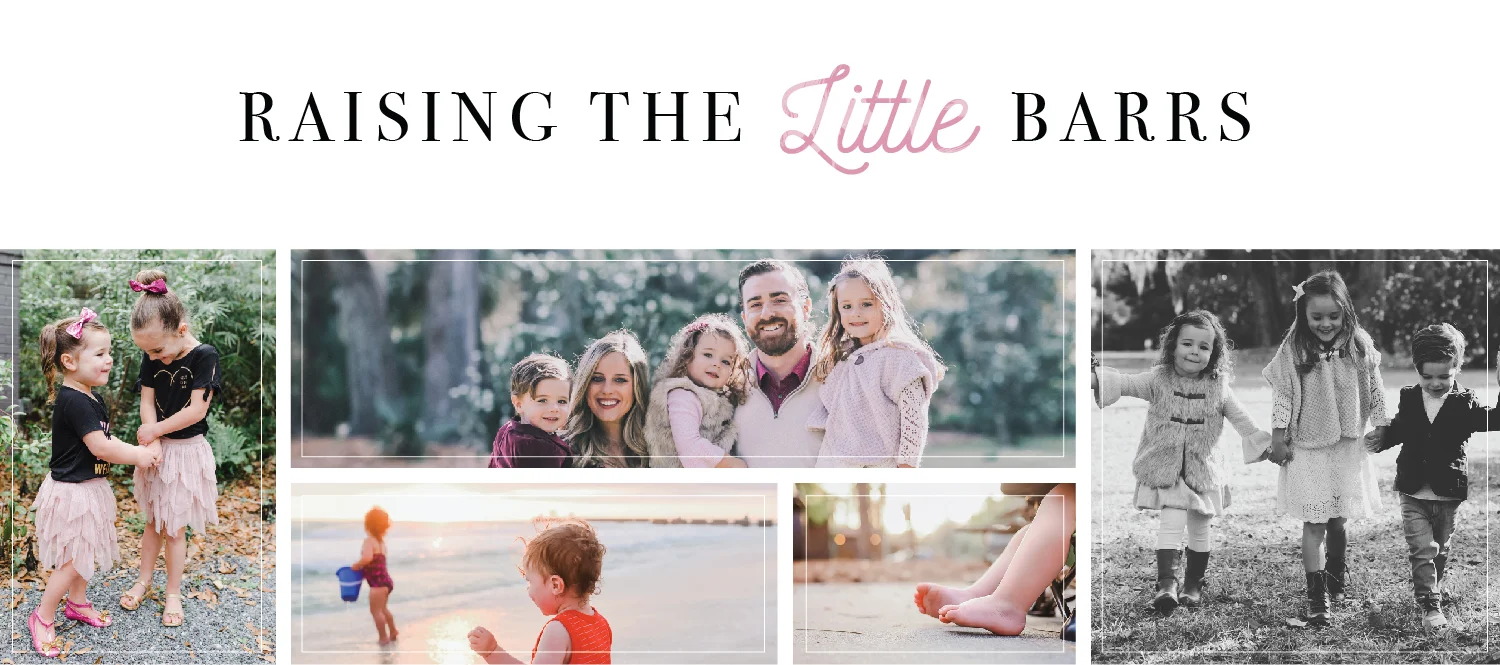
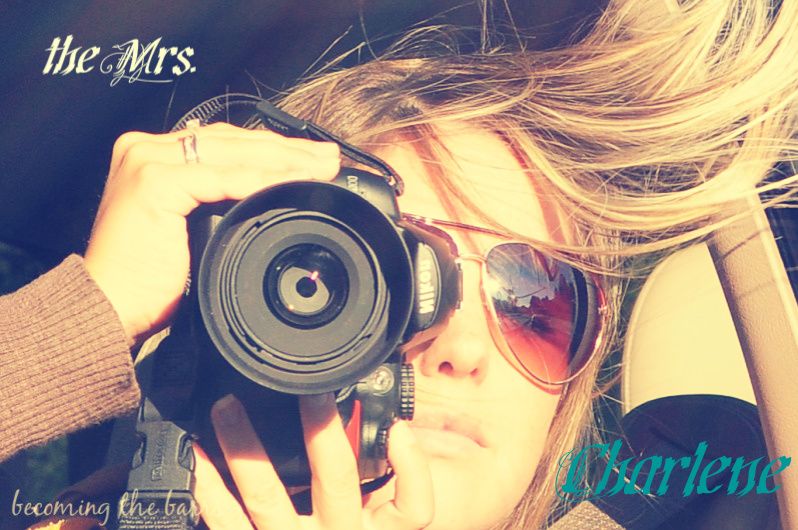
As a little introduction to new 'friends,' I'm Charlene, the craftier, family loving, couch cuddling, always finding joy in the little things, a-little-bit-unorganized-yet-always-know-what's-going-on half of our marriage.
This is J, the handsome, driven, future-doctor, super-busy-yet-always-thoughtful and keeps that smile on my face half of our marriage.

We are from South Florida, met in middle school and both played lacrosse for the Tomahawks. Our love started in 9th grade and we were fortunate enough to go to Florida State University together. We both graduated in 2009 and currently live in Georgia where my husband attends medical school. We pretend to have southern accents sometimes..haha...but, we don't! I'm glad we had so much time together growing up because our time together now is somewhat scarce due to his schedule. But, we make it work and take advantage of every moment possible! And that leaves me more time to craft and blog..gotta look at the positives! Oh, and we just got married this past summer after 9 years of dating..
June 18, 2011 :)

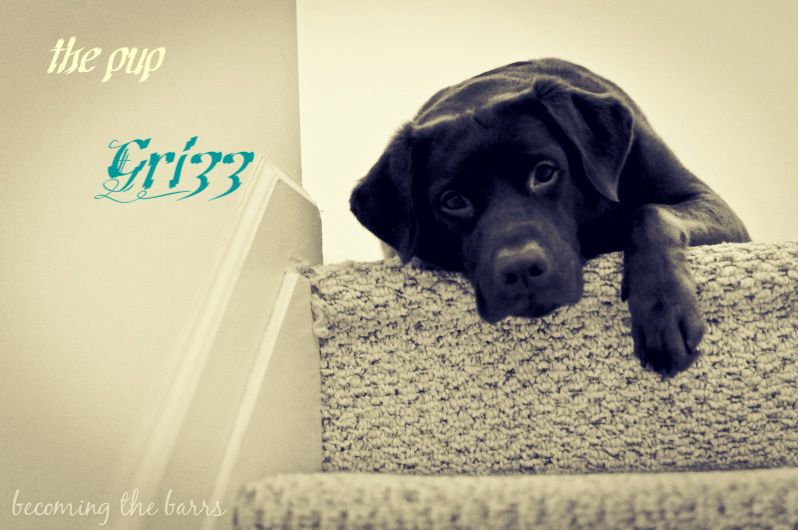
And this is
Grizz, our 4 year old helper, trouble-maker, chocolate loving (he's a
chocolate lab, what can he say? - and no, we do not give him chocolate, but he always manages to get into it!), lazy little (big) pup.
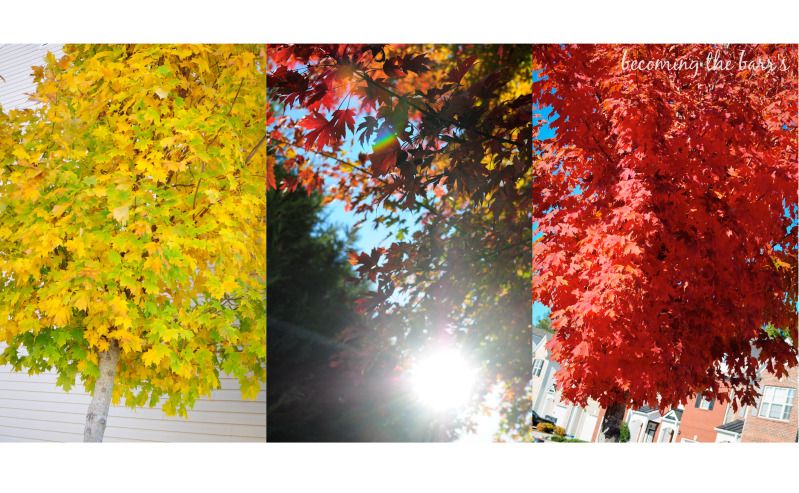
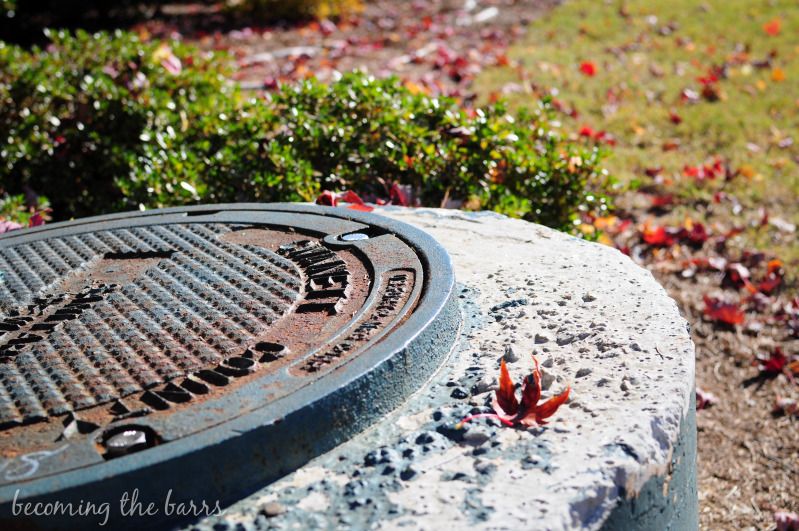
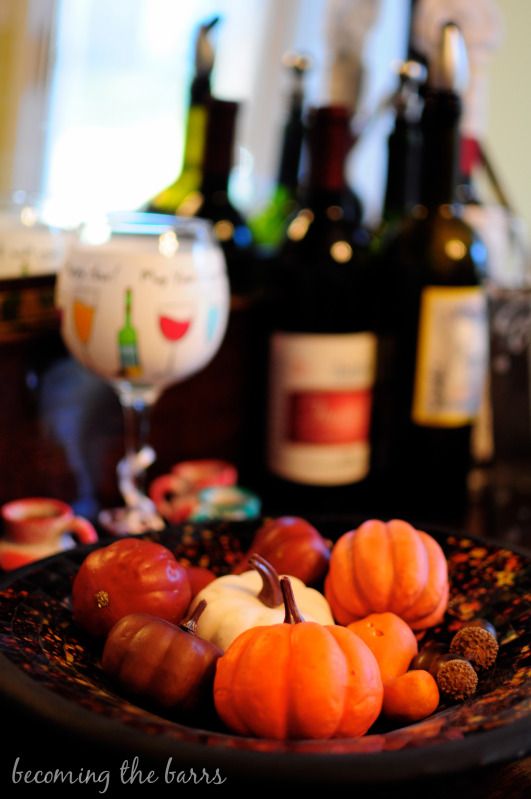
We currently live right outside of Atlanta, Georgia, and I sure have never seen so many fall colors in one place at one time! (I guess I didn't make it out of Florida very often...) So taking in the picturesque views every turn I make is sometimes breathtaking. (Hence, all the fall photographs!)
~~~~
And now, here is the monogrammed pumpkin tutorial as previously promised:
First, I bought one of those 'craftable/carvable' pumpkins. Every store calls them something different, but if you've been to any craft store lately you know what I mean. My original plan was to do this on a real pumpkin, but then I figured I could do it this way and have it every year :) Easy choice.
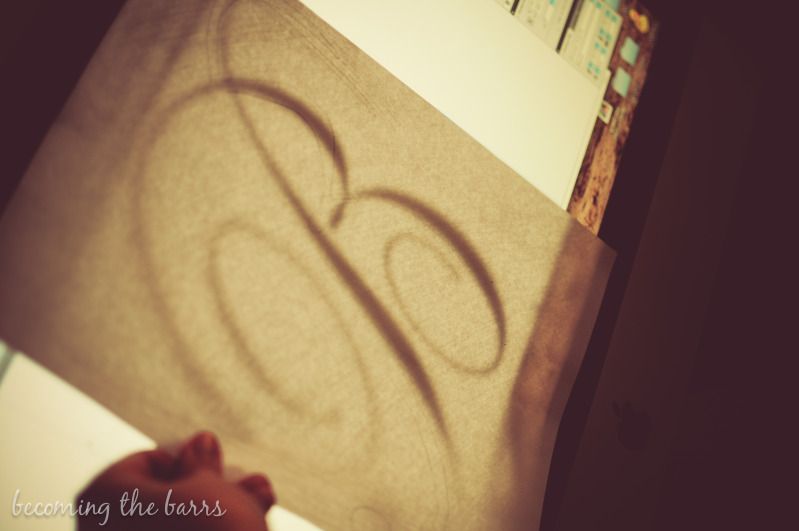
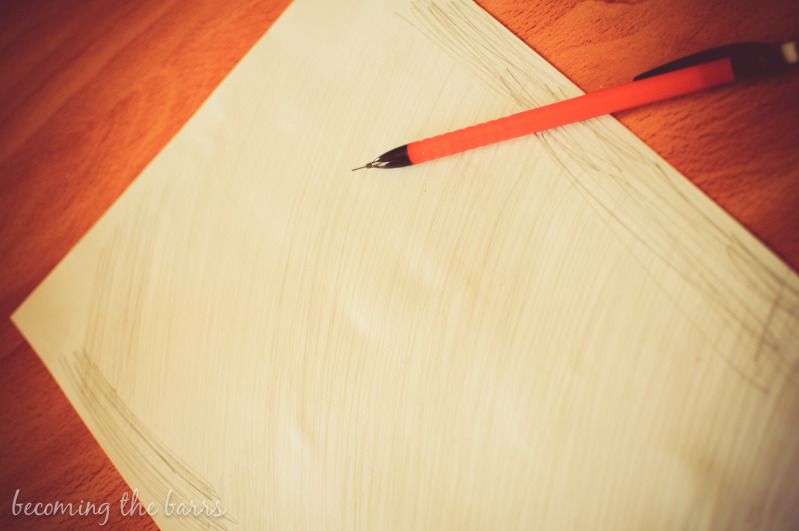
1. In any word, publishing, editing program, type your letter, choose your font, and make it BIG. (I believe I used Edwardian Script or ALS Script) Put a sheet of paper up to the screen and trace. (If you have a husband like mine, he may inspect the computer screen after to make sure you didn't scratch it up....don't worry, I didn't!)
2. On the back of the paper, scribble all over with a pencil. This will work as a transfer method onto the pumpkin.
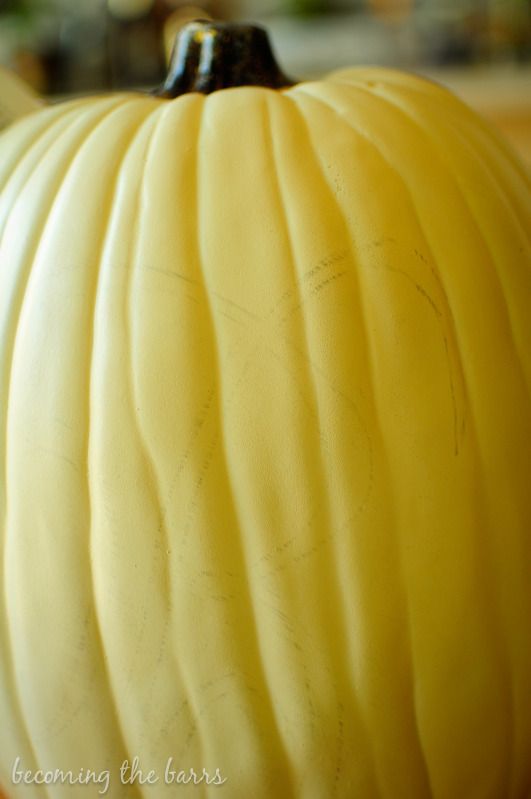
3. Put the paper over the pumpkin and outline over your previous outline. (The back side touching the pumpkin will be the scribble side)
This is what the pumpkin will look like...(do you see a faint outline?...look closely!)
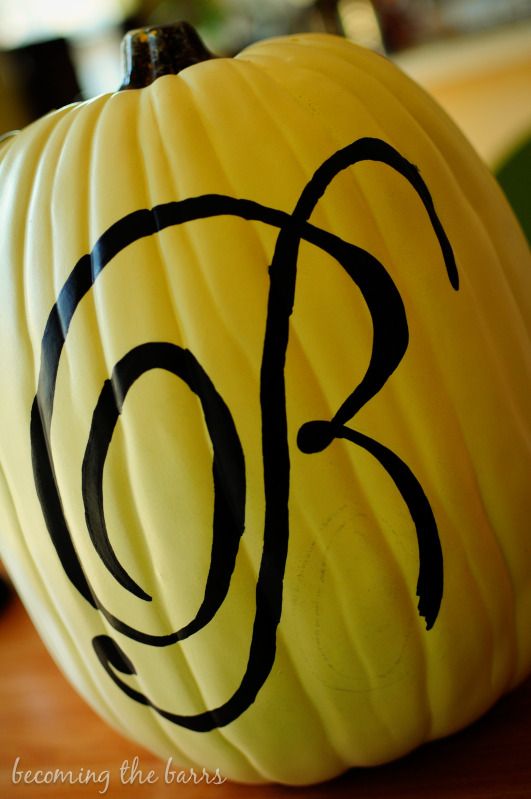
4. Fill in the outline with paint. To make this easier, I used an acrylic paint pen.
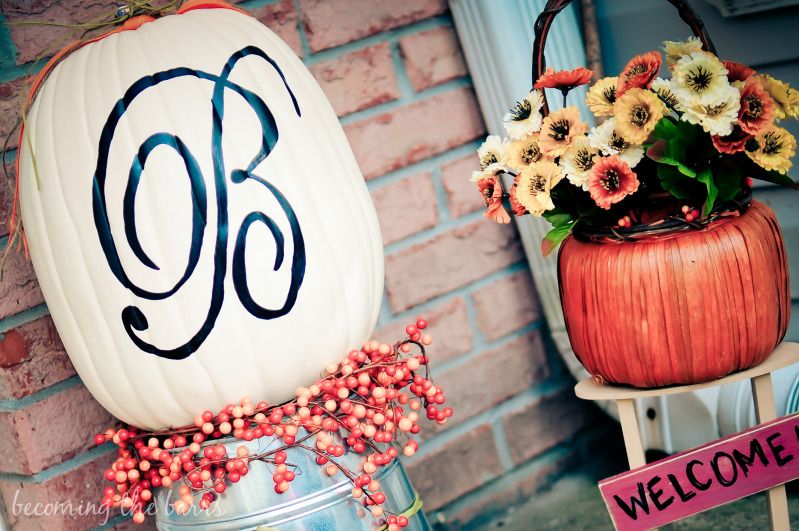
5. Voila! Add some ribbon and jazz it up a little.
~~~~
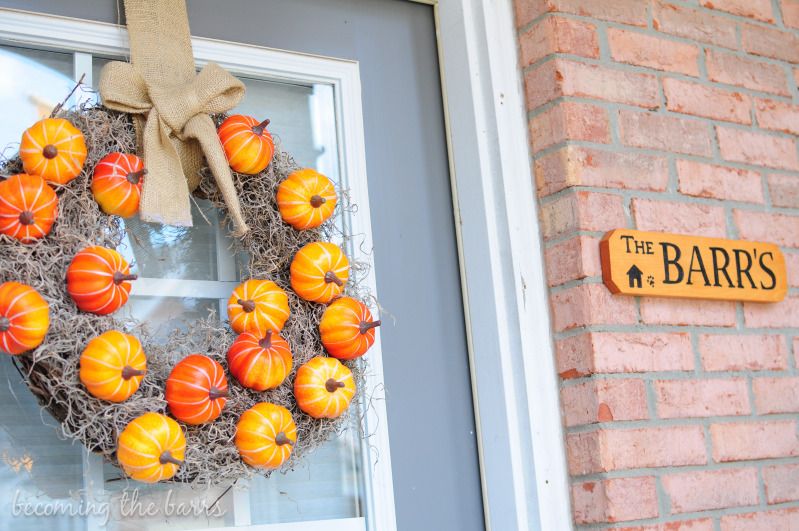
If you are interested in this pumpkin wreath, which can be kept up through Thanksgiving, follow these simple steps:
Get a plain simple wreath, moss, and mini pumpkins. Use spray adhesive to apply the moss to the wreath. Then hot glue the pumpkins on. That's it! I used burlap for the ribbon but you can use anything you want there.
~~~~
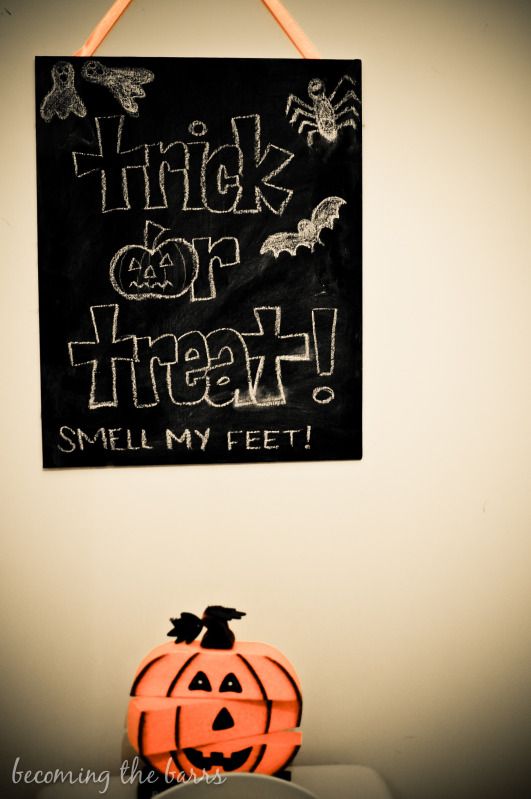
For this easy chalkboard which can be changed up for every holiday, just buy a plain canvas, spray paint with chalkboard paint, and attach a ribbon.
~~~~
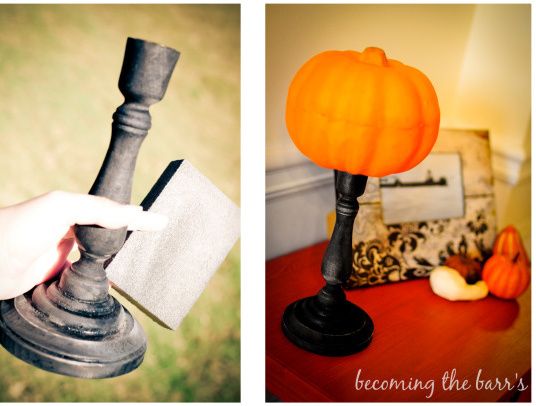
For this little pumpkin decoration, I bought an unfinished candlestick and circle base at the craft store, spray painted them black, and attached them together with e6000 glue. The I distressed it a little with sandpaper and attached a pumpkin with glue.
~~~~
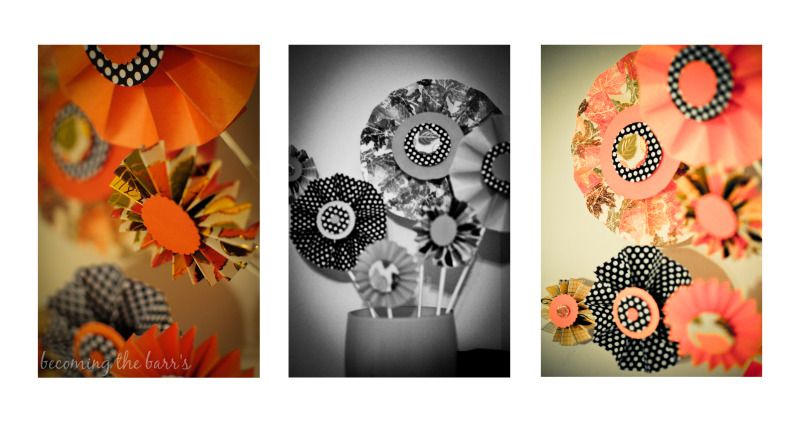
For the flower pinwheels, follow this
tutorial.
~~~~
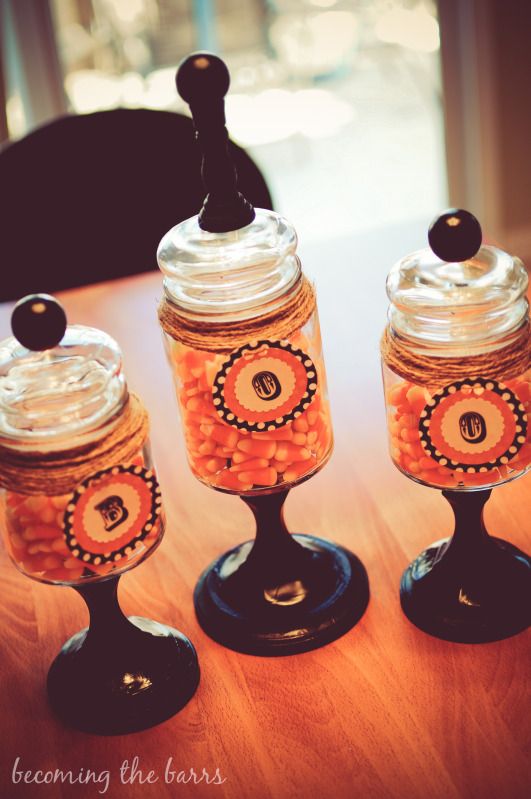
For DIY apothecary jars, follow my tutorial in
this post.
~~~~
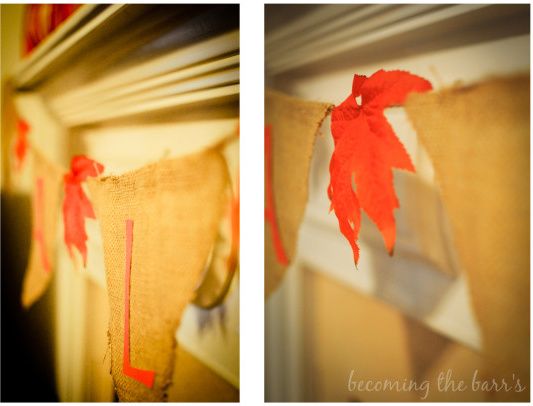
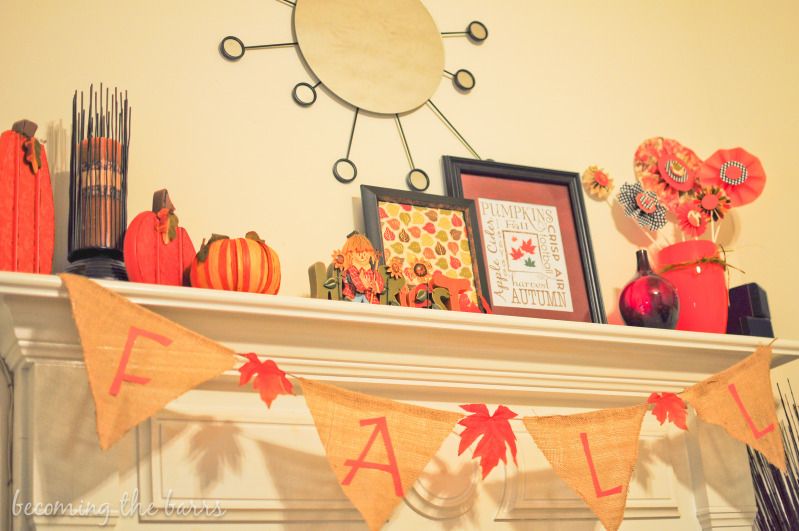
For the 'FALL' banner, I cut triangles out of burlap and attached them to twine with hot glue. I cut out letters with my Cricut and glued them on, along with a couple fall leaves.
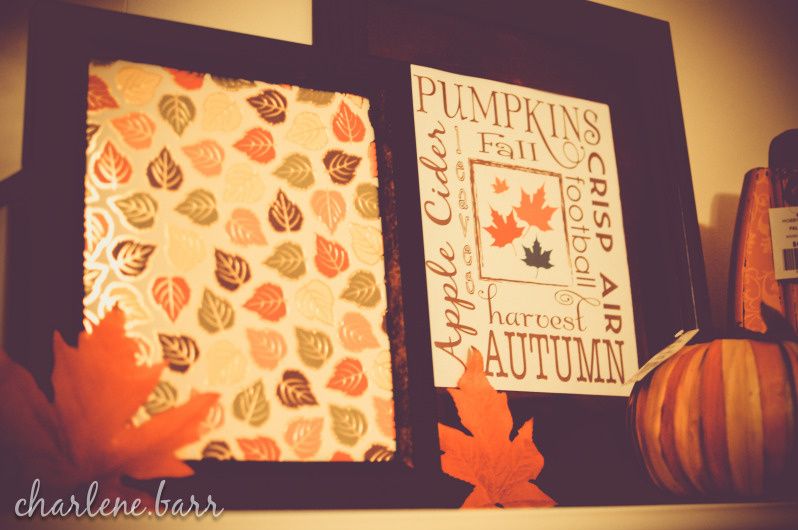
And I made this subway art in Adobe Illustrator by arranging words in different sizes and fonts.
~~~~
Clearly, I loveee decorating for fall! We've got about a month left for these decorations and then we're on to Christmas. Sweeeet :)
But for now, let's enjoy fall. And I'll enjoy my 'Trick or Treat' scented Yankee Candle for a little while longer. Mmm!
Hope your fall decorations have come along exactly how you want them..and if not, there's always next year! Thanks for stopping by and nice to meet you 'new' friends :)
Join the Fall Follower's Fest :


